School Work Demo Reel 2008
Demo Reel Breakdown
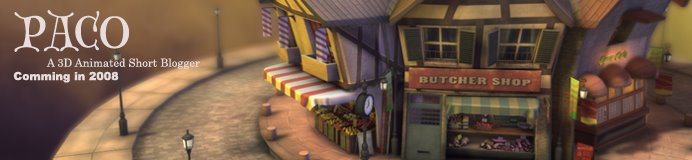
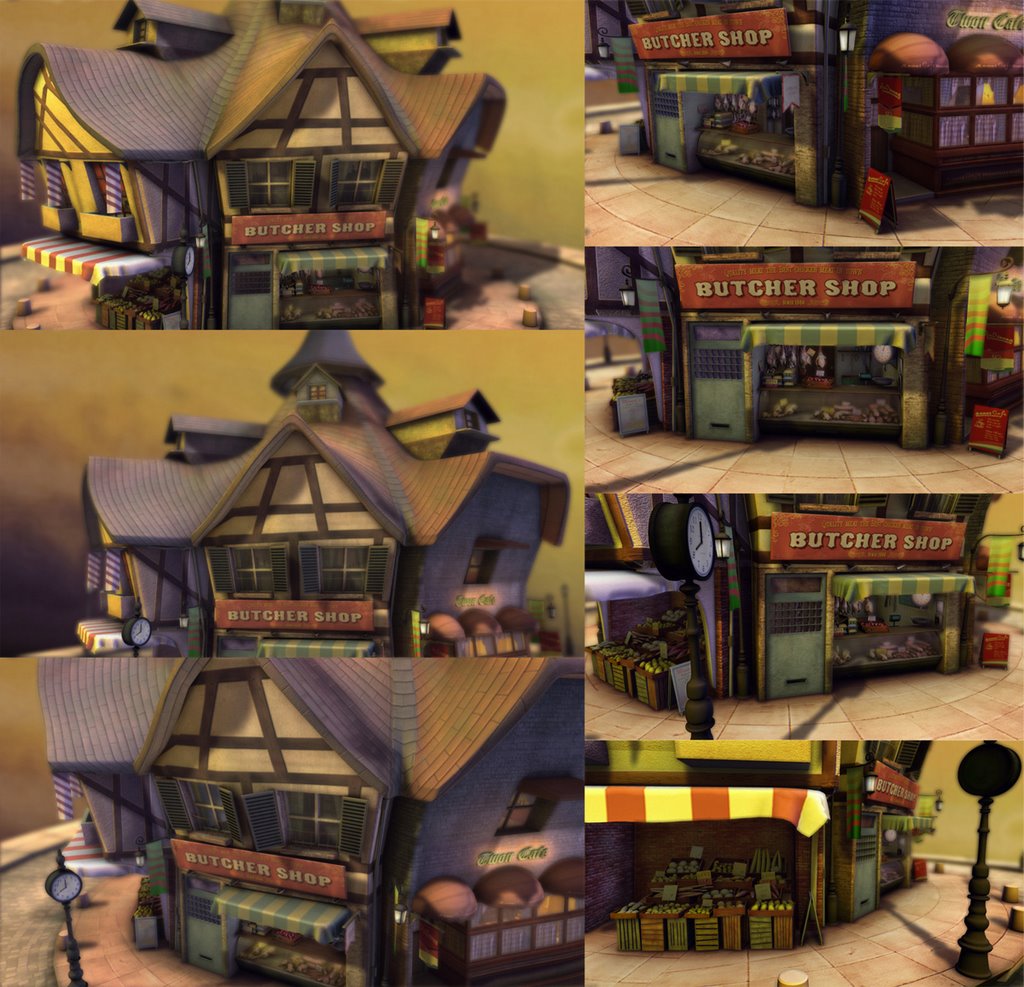
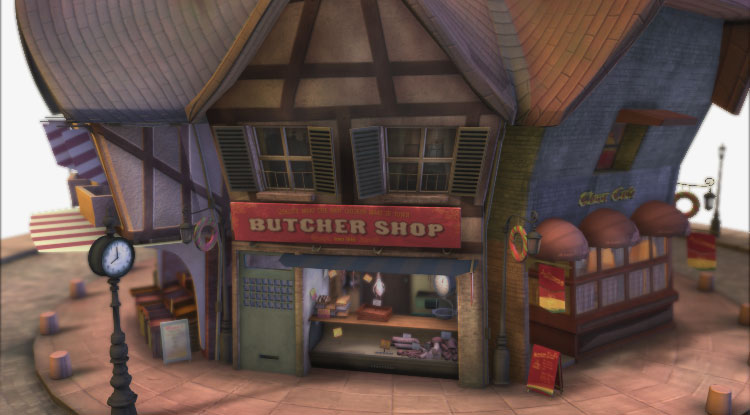
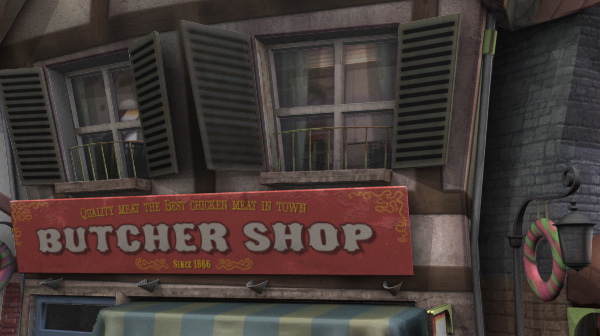
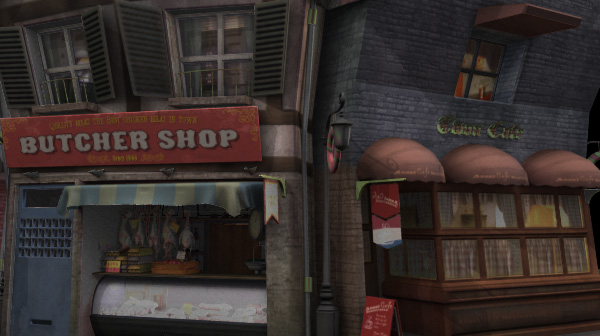
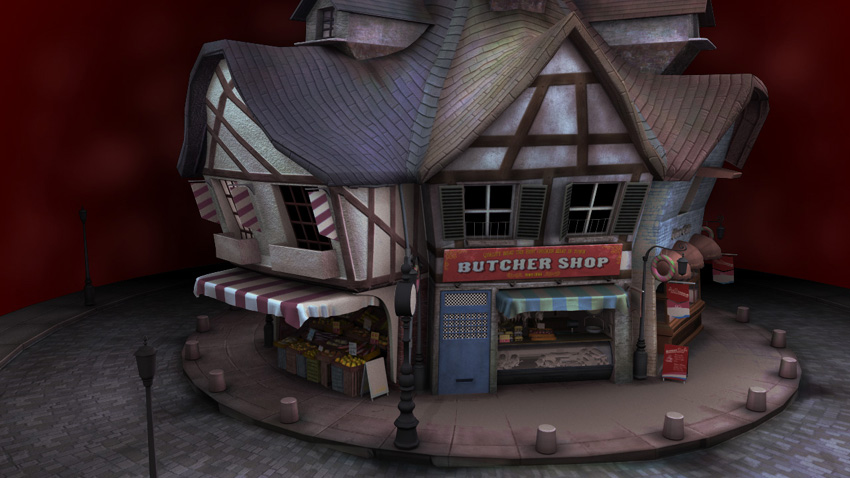
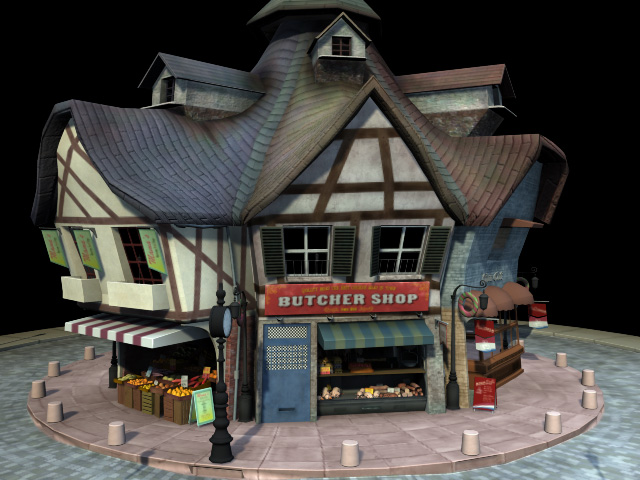
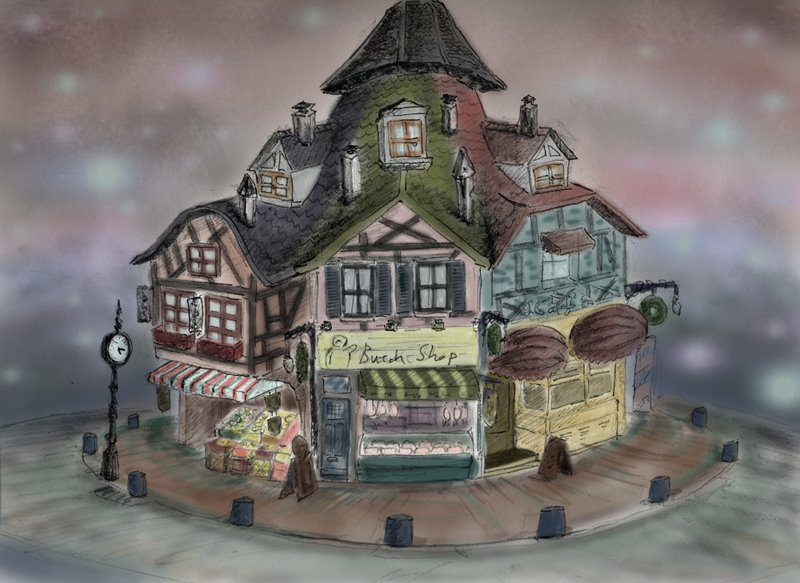
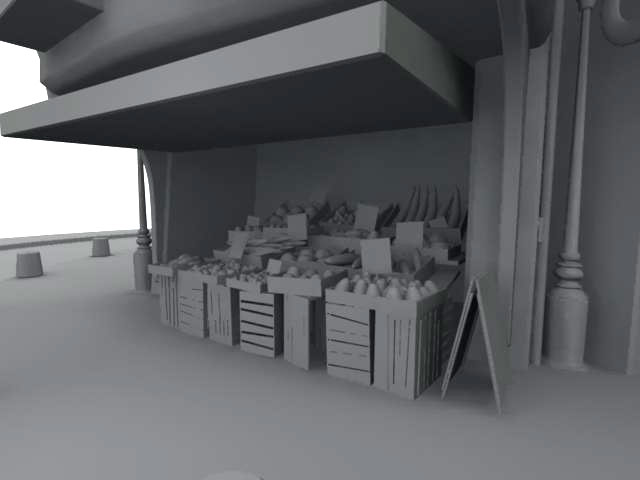
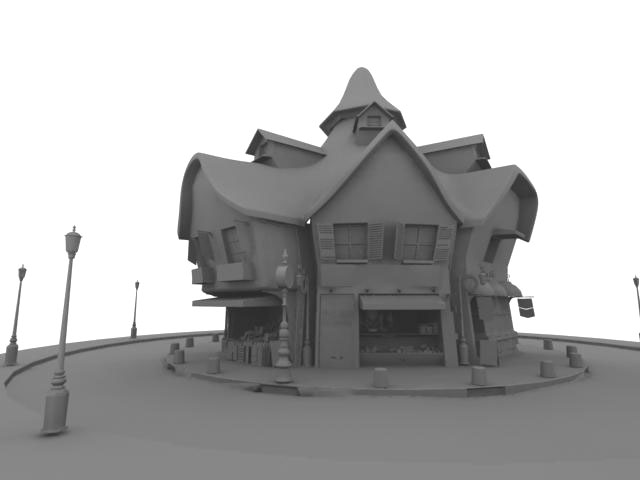
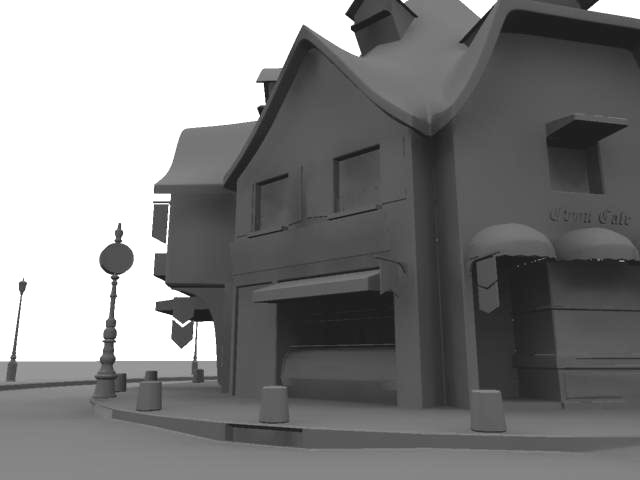
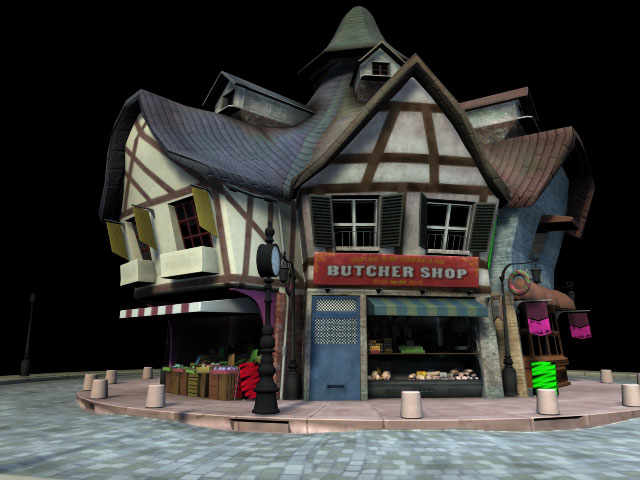
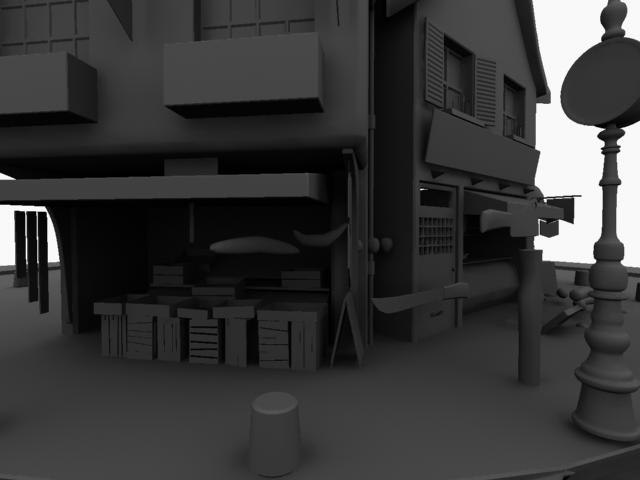
| DRB #1 | It is a market scene that I created for my animated short PACO (2007). I designed, modeled, textured and lighted in Maya. I composited these shots in AfterEffects. |
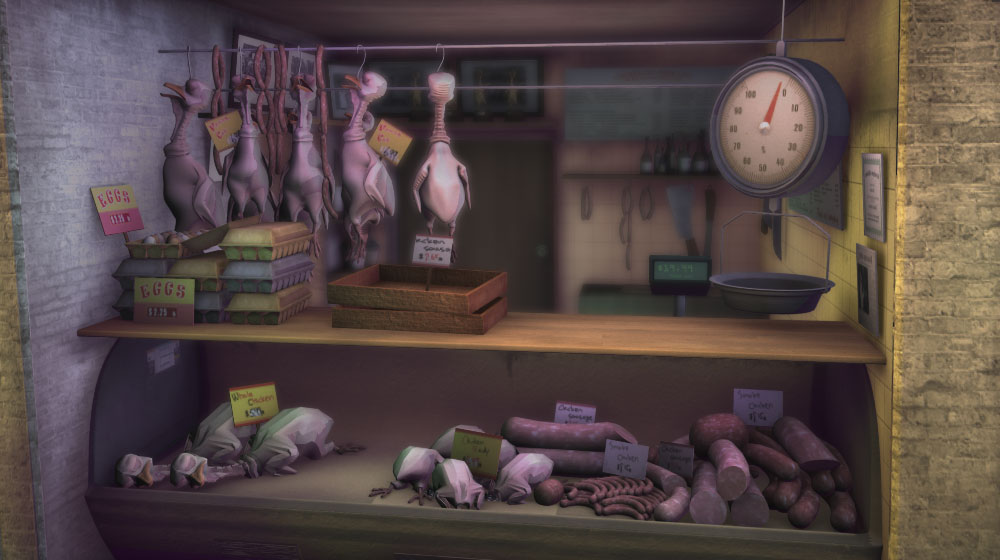
| DRB #2 | It is a chicken barn scene that I created for my animated short PACO (2007). I designed, modeled, textured and lighted in Maya. I composited these shots in AfterEffects. |
| DRB #3 | It is a basement indoor environment. I modeled, textured and lighted it in Maya and then composited this indoor environment in AfterEffects (2006). |
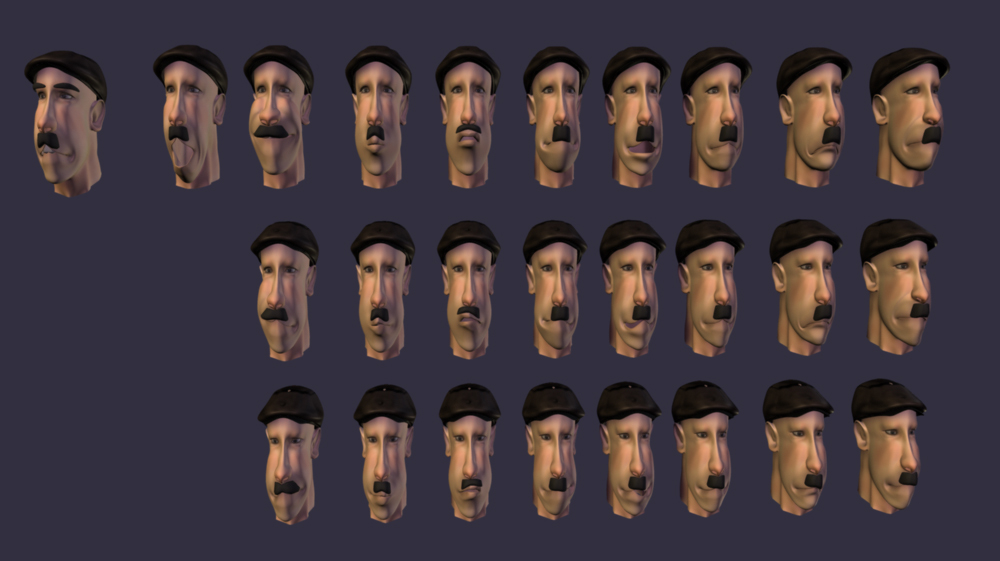
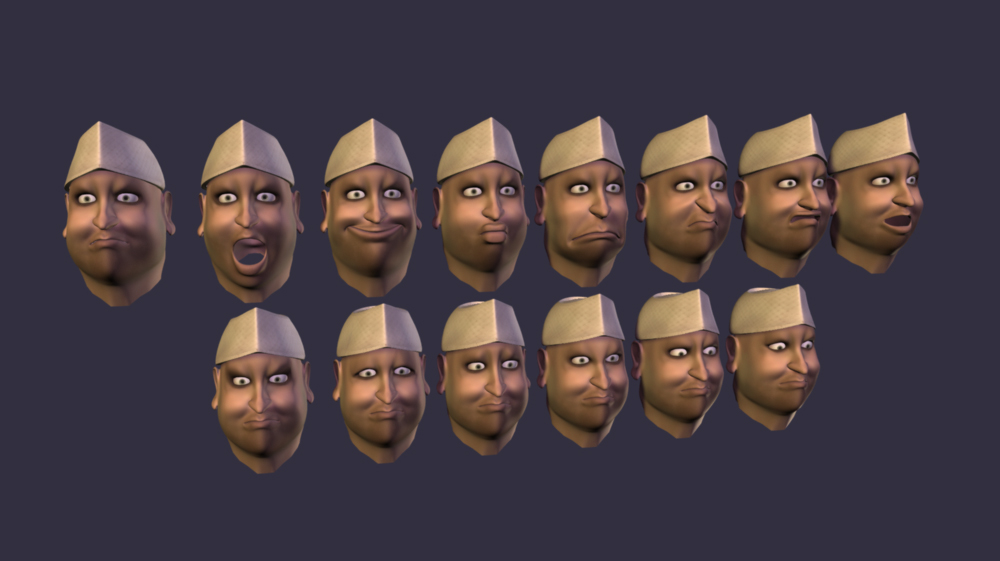
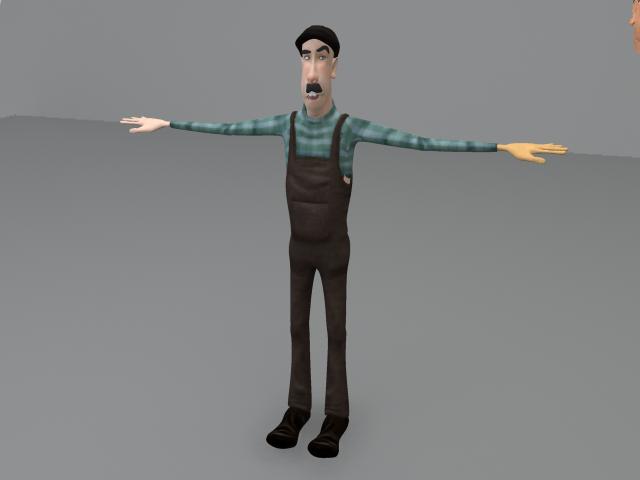
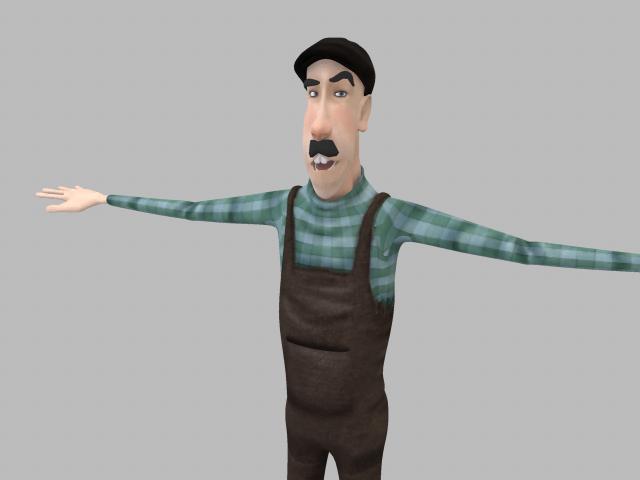
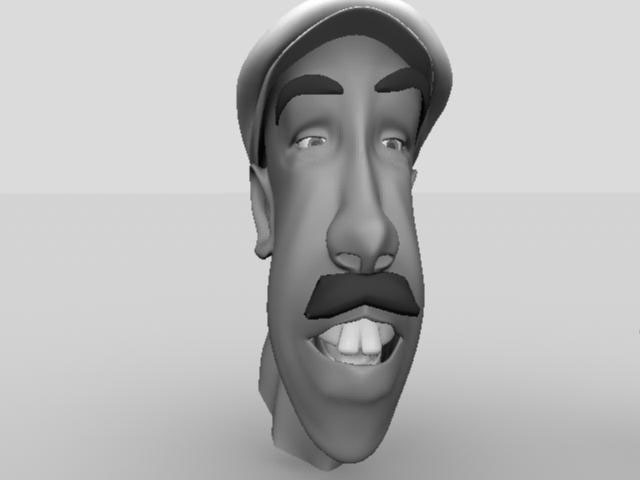
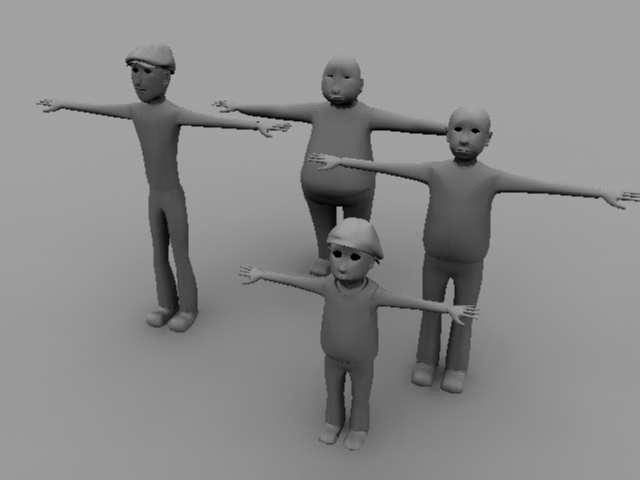
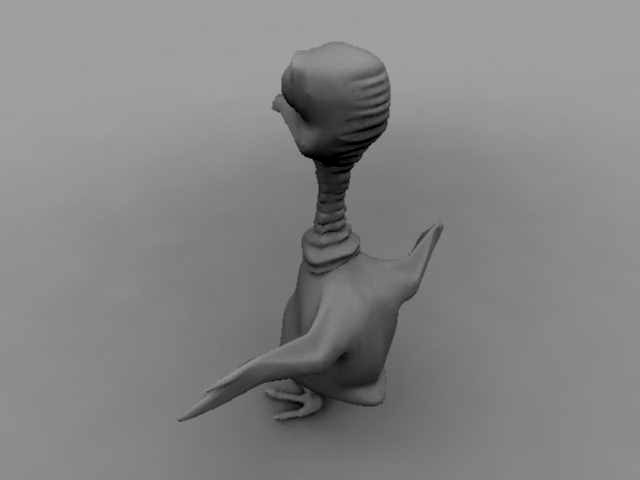
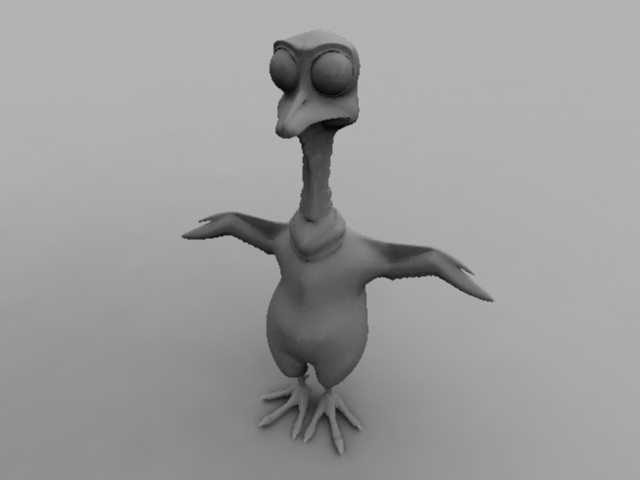
| DRB #4 | Character facial animation, they are three characters in my animated short PACO (2007). I designed, rigged, modeled, textured, lighted and animated them in Maya. |
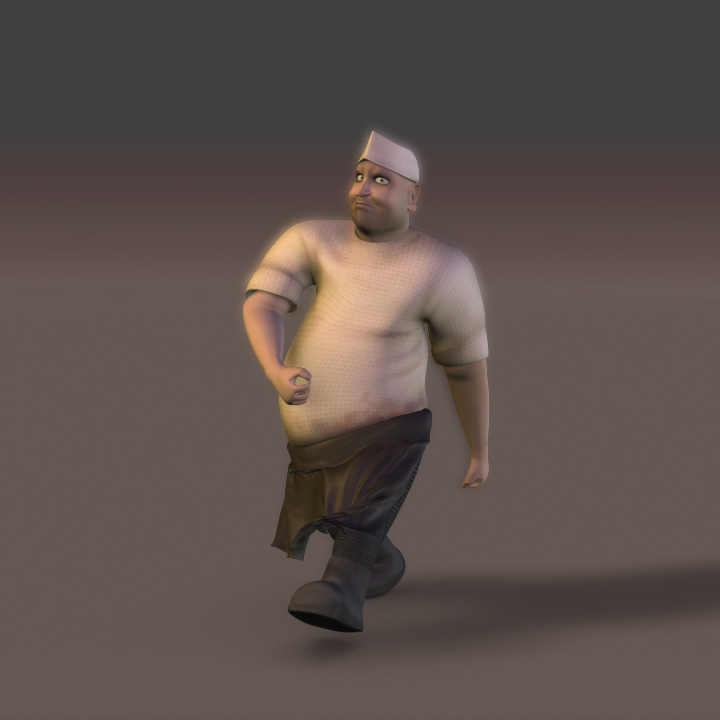
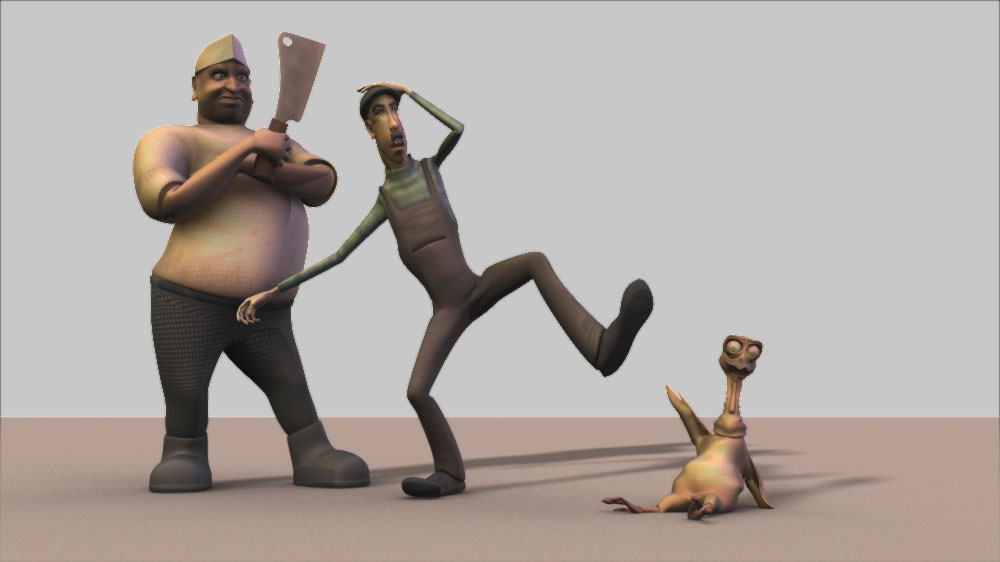
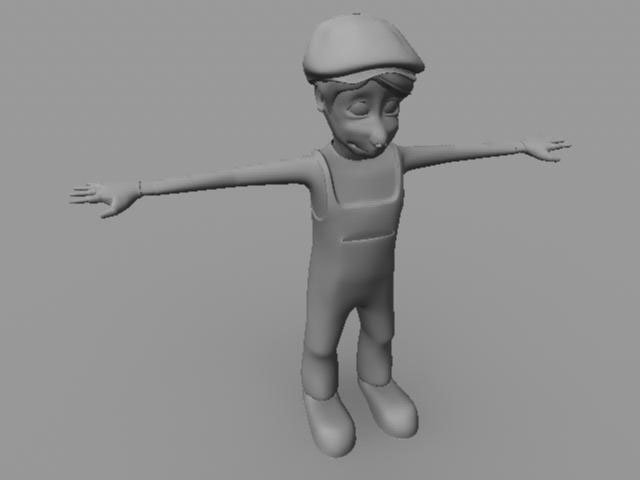
| DRB #5 | Character walk cycle animation, they are three characters in my animated short PACO (2007). I designed, rigged, modeled, textured, lighted and animated them in Maya. |
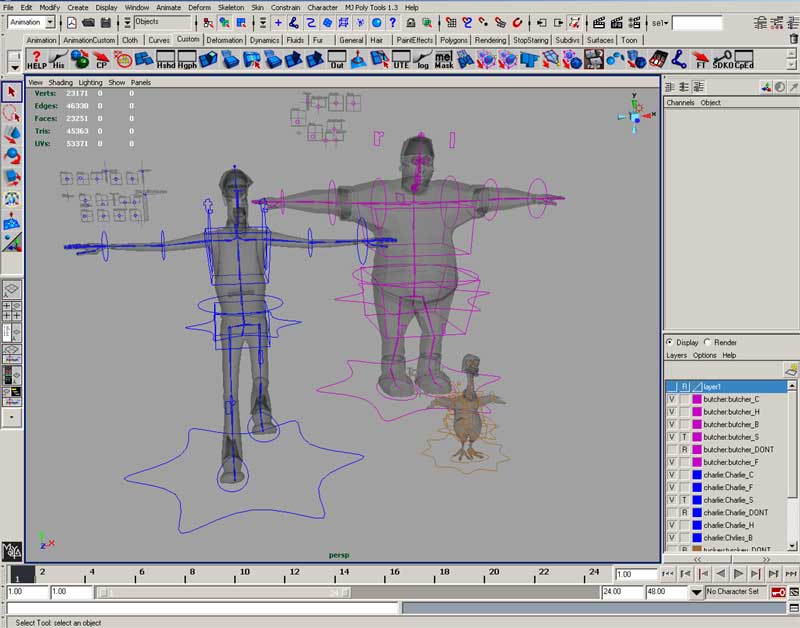
| DRB #6 | Here is a demonstration of character rigs in my animated short (2007). |
| DRB #7 | Here I demonstrated that I used different render passes (diffuse, occlusion, shadow, depth and specular) for each render layer (character and environment) (2008) |
| DRB #8 | Here I have animated a sequence for my animated short (2008). I animated, modeled, lighted, rigged, textured, rendered and composited this sequence. I demonstrated different stages of production in a separated screen. |
| DRB #9 | Here is a short sequence in my animated short (2008). I did not animate this sequence, teammate Jim Ward animated this sequence. I designed, textured, modeled, lighted and rendered this sequence in Maya. |
| DRB #10 | Here is a racing ship model that I created in 3DMax (2005). I rendered with HDRI setting. |
| DRB #12 | I modeled this human character to practice human modeling techniques. I studied human body proportion and anatomy for this project (2006). |
| DRB #13 | Here is a shopping district of Taipei city, Taiwan. I modeled it in 3DMax and rendered in global illumination setting (2006). |


